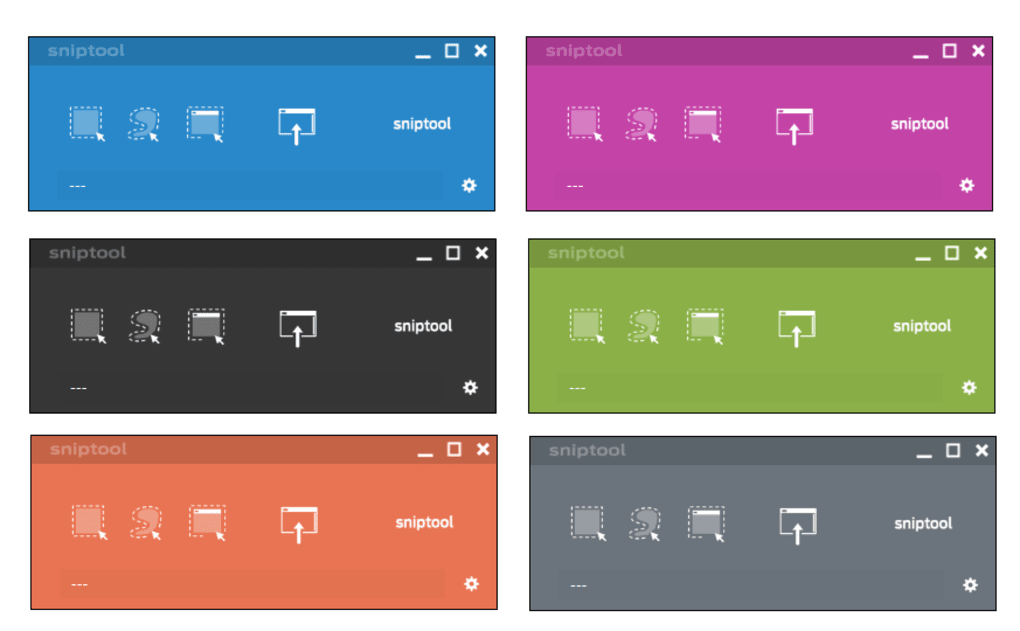
Snipping Tool is a built-in Windows screen capture utility designed for taking screenshots, capturing selected screen areas, and saving or sharing images directly from the desktop.
The application is commonly used for:
It is widely used by:
because of its simplicity and direct integration with Windows systems.
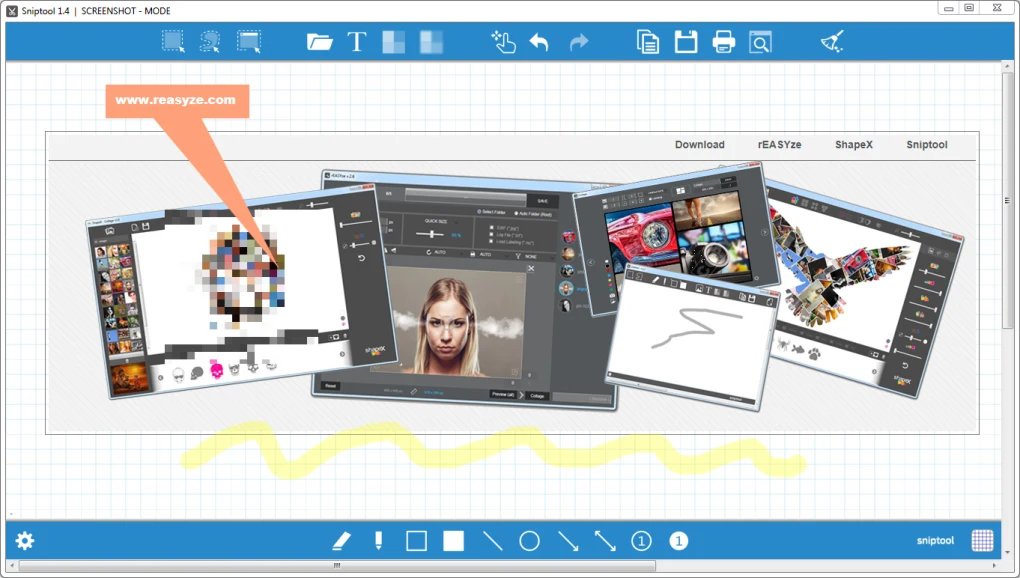
Snipping Tool is a screen capture utility included in Microsoft Windows that allows users to capture screenshots of the desktop or selected areas of the screen.
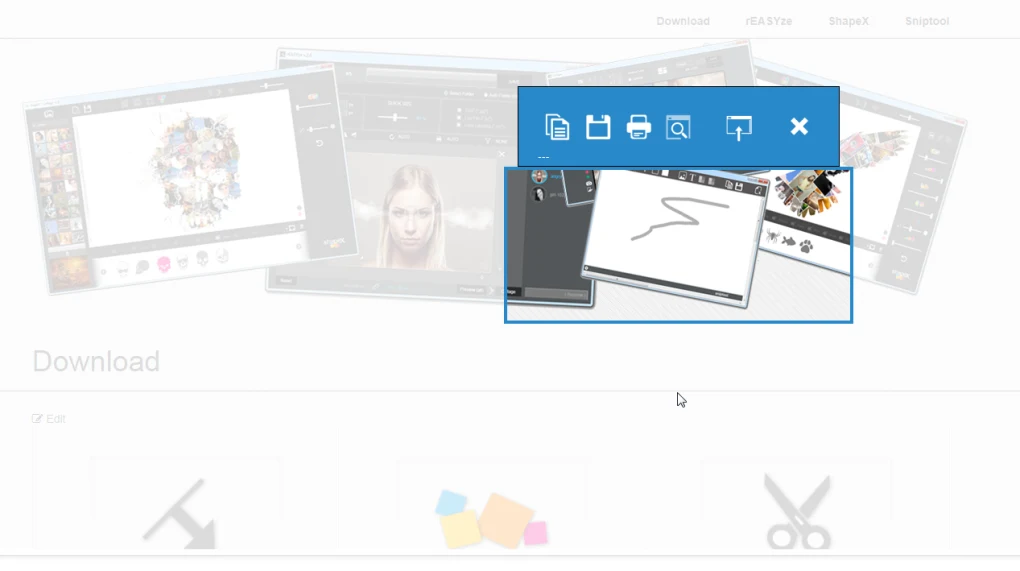
Users can capture:
Depending on the Windows version, the tool may also support:
It simplifies capturing and saving visual information directly from the screen.
Used for quickly taking screenshots of the desktop or applications.
Helps teachers and students create visual instructions.
Useful for sharing error messages and troubleshooting information.
Captures images for reports, guides, and presentations.
Improves communication by visually sharing screen content.
It is used for capturing screenshots and selected screen areas in Windows.
Yes, it is included with Windows.
Yes, users can select custom screen regions.
Some newer Windows versions include recording features.
Basic annotation and highlighting tools are commonly available.
Yes, the tool works completely offline.
✔️ Full-screen screenshot capture
✔️ Rectangular snip selection
✔️ Freeform screen capture
✔️ Window-specific screenshot mode
✔️ Basic image annotation tools
✔️ Delayed screenshot timer
✔️ Save screenshots in multiple formats
✔️ Clipboard copy support
✔️ Lightweight Windows integration
✔️ Keyboard shortcut support
✔️ Screen recording support (in newer versions)
✔️ Quick sharing workflows
✔️ Touchscreen compatibility
✔️ Simple beginner-friendly interface
Snipping Tool is one of the simplest and most practical built-in productivity tools available in Windows.
Its biggest strength is convenience because users can quickly capture screenshots without installing third-party software.
The tool is especially useful for:
The lightweight interface and built-in Windows integration make it ideal for quick screenshot workflows.
However, advanced users may still prefer dedicated screenshot software for:
Overall, Snipping Tool remains an extremely useful and beginner-friendly screen capture utility for Windows users.
Search for:
Snipping Tool
from the Windows Start Menu.
Open the screen capture utility.
Choose:
Select the desired screen area.
Optionally annotate or highlight content.
Export screenshot to desired location or clipboard.
This content is provided for educational and informational purposes only. We do not host, store, or distribute any software files on our servers. All trademarks, product names, and logos belong to their respective owners.
We strongly recommend downloading software only from official websites or trusted sources. We are not responsible for any damage, data loss, or issues that may occur from the use of third-party software.
Users should ensure they comply with all applicable laws and software licensing agreements in their country before downloading or using any software mentioned on this website.
Expore Apps